
Watercooling 3D Printers
Why?
I recently upgraded to an AWD setup from BRS Engineering on my RatRig V-Core 3.1 300mm. With that, I wanted to watercool my stepper motors since 2 of them would now be enclosed. Since I was already watercooling the motors, I ended up water-cooling my hotend, a Goliath, a well.
Do you really need to watercool your motors and hotend? Probably not, but is it cool? Definitely.
There wasn’t much info on watercooling in 3D printing, especially when doing a ‘custom’ setup. So I put together this guide to hopefully help others seeking to do the same.
Happy printing!
Layout
General Info
Specific info/guides/resources
Install notes
Purchase links (I have not relation to the links, but it is what I bought)
My setup gallery
General Information
Mellow watercooling blocks (all types)
Thread: M5
Tube OD: 4mm
Water pump/reservoir
Thread: G1/4
G1/4 is a common PC watercooling thread, so most radiators and stuff will be threaded that way
Preferred tube material
PU
Silicone will just give you trouble, it's too bendy
Specific Information
Tubing
When inserting tubing into quick-disconnect fittings (think ECAS for ptfe tubes), you need to push them further than you think, or you will leak!
You can use a bit of silicone-based lube or dish soap to get them past the O-ring

Flow Meters
The flow meter is a cool concept, but mine only sometimes spins - I don't think we're pushing enough flow with the tube sizes we have
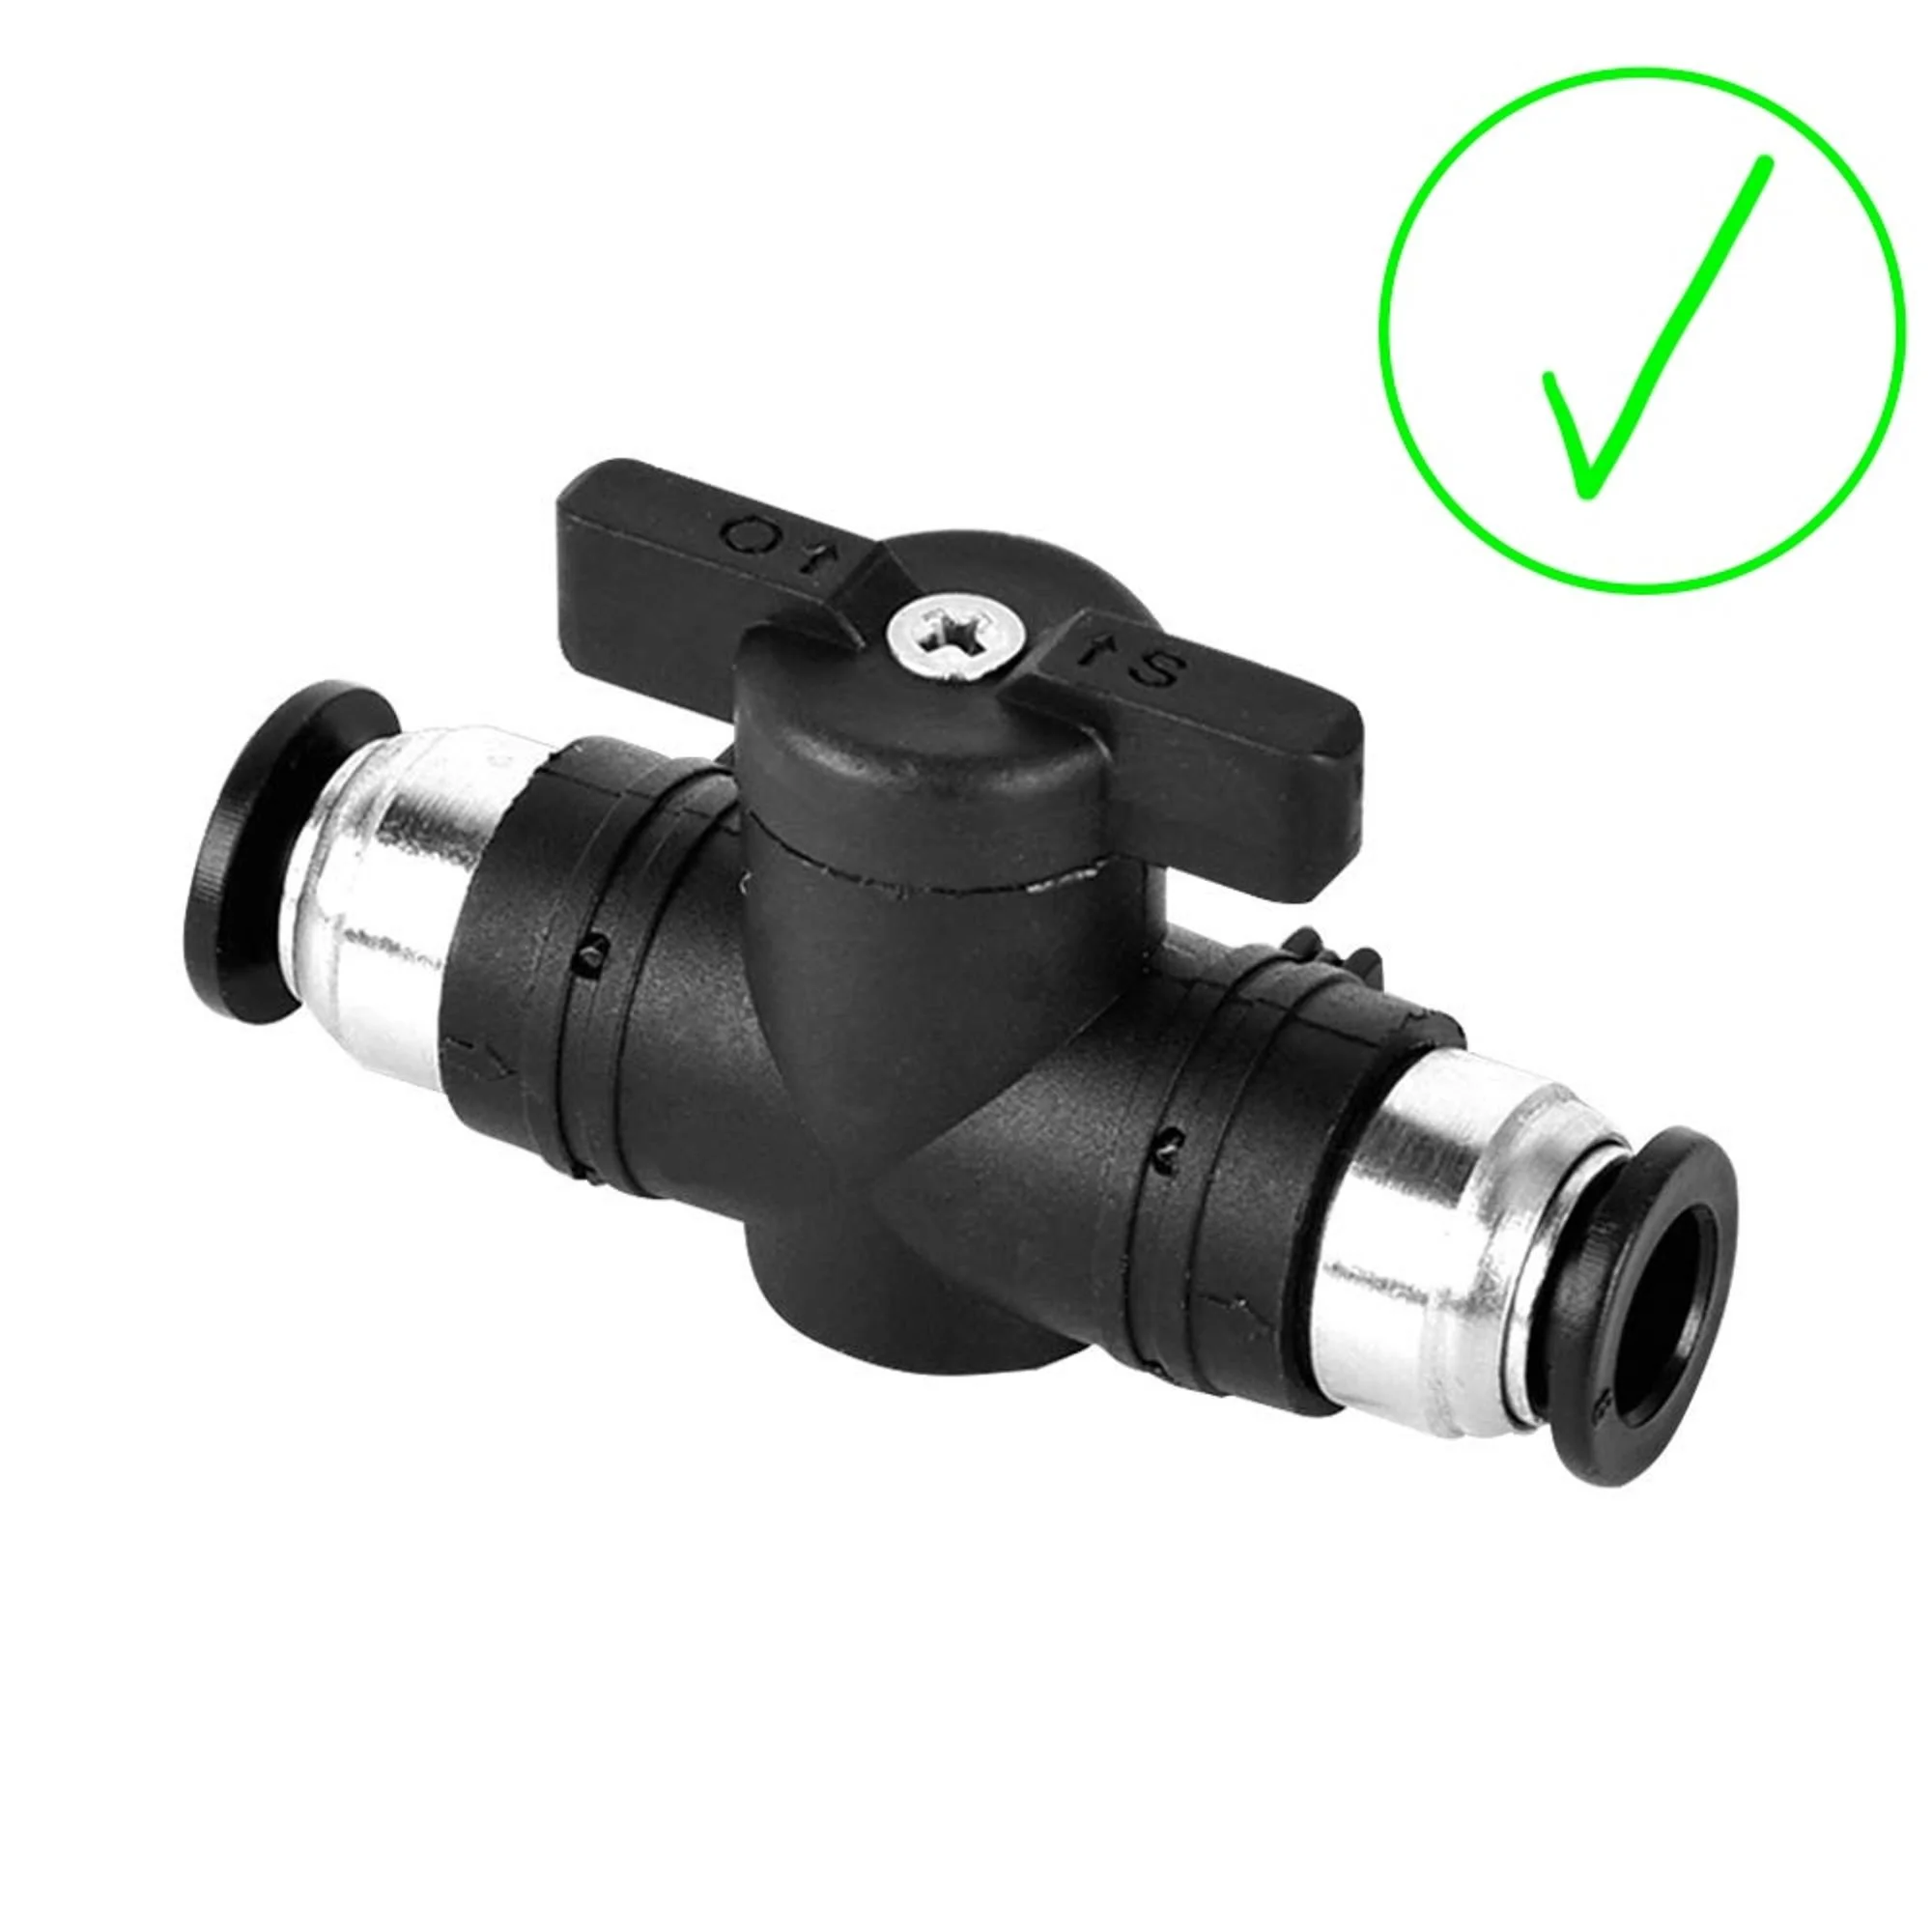
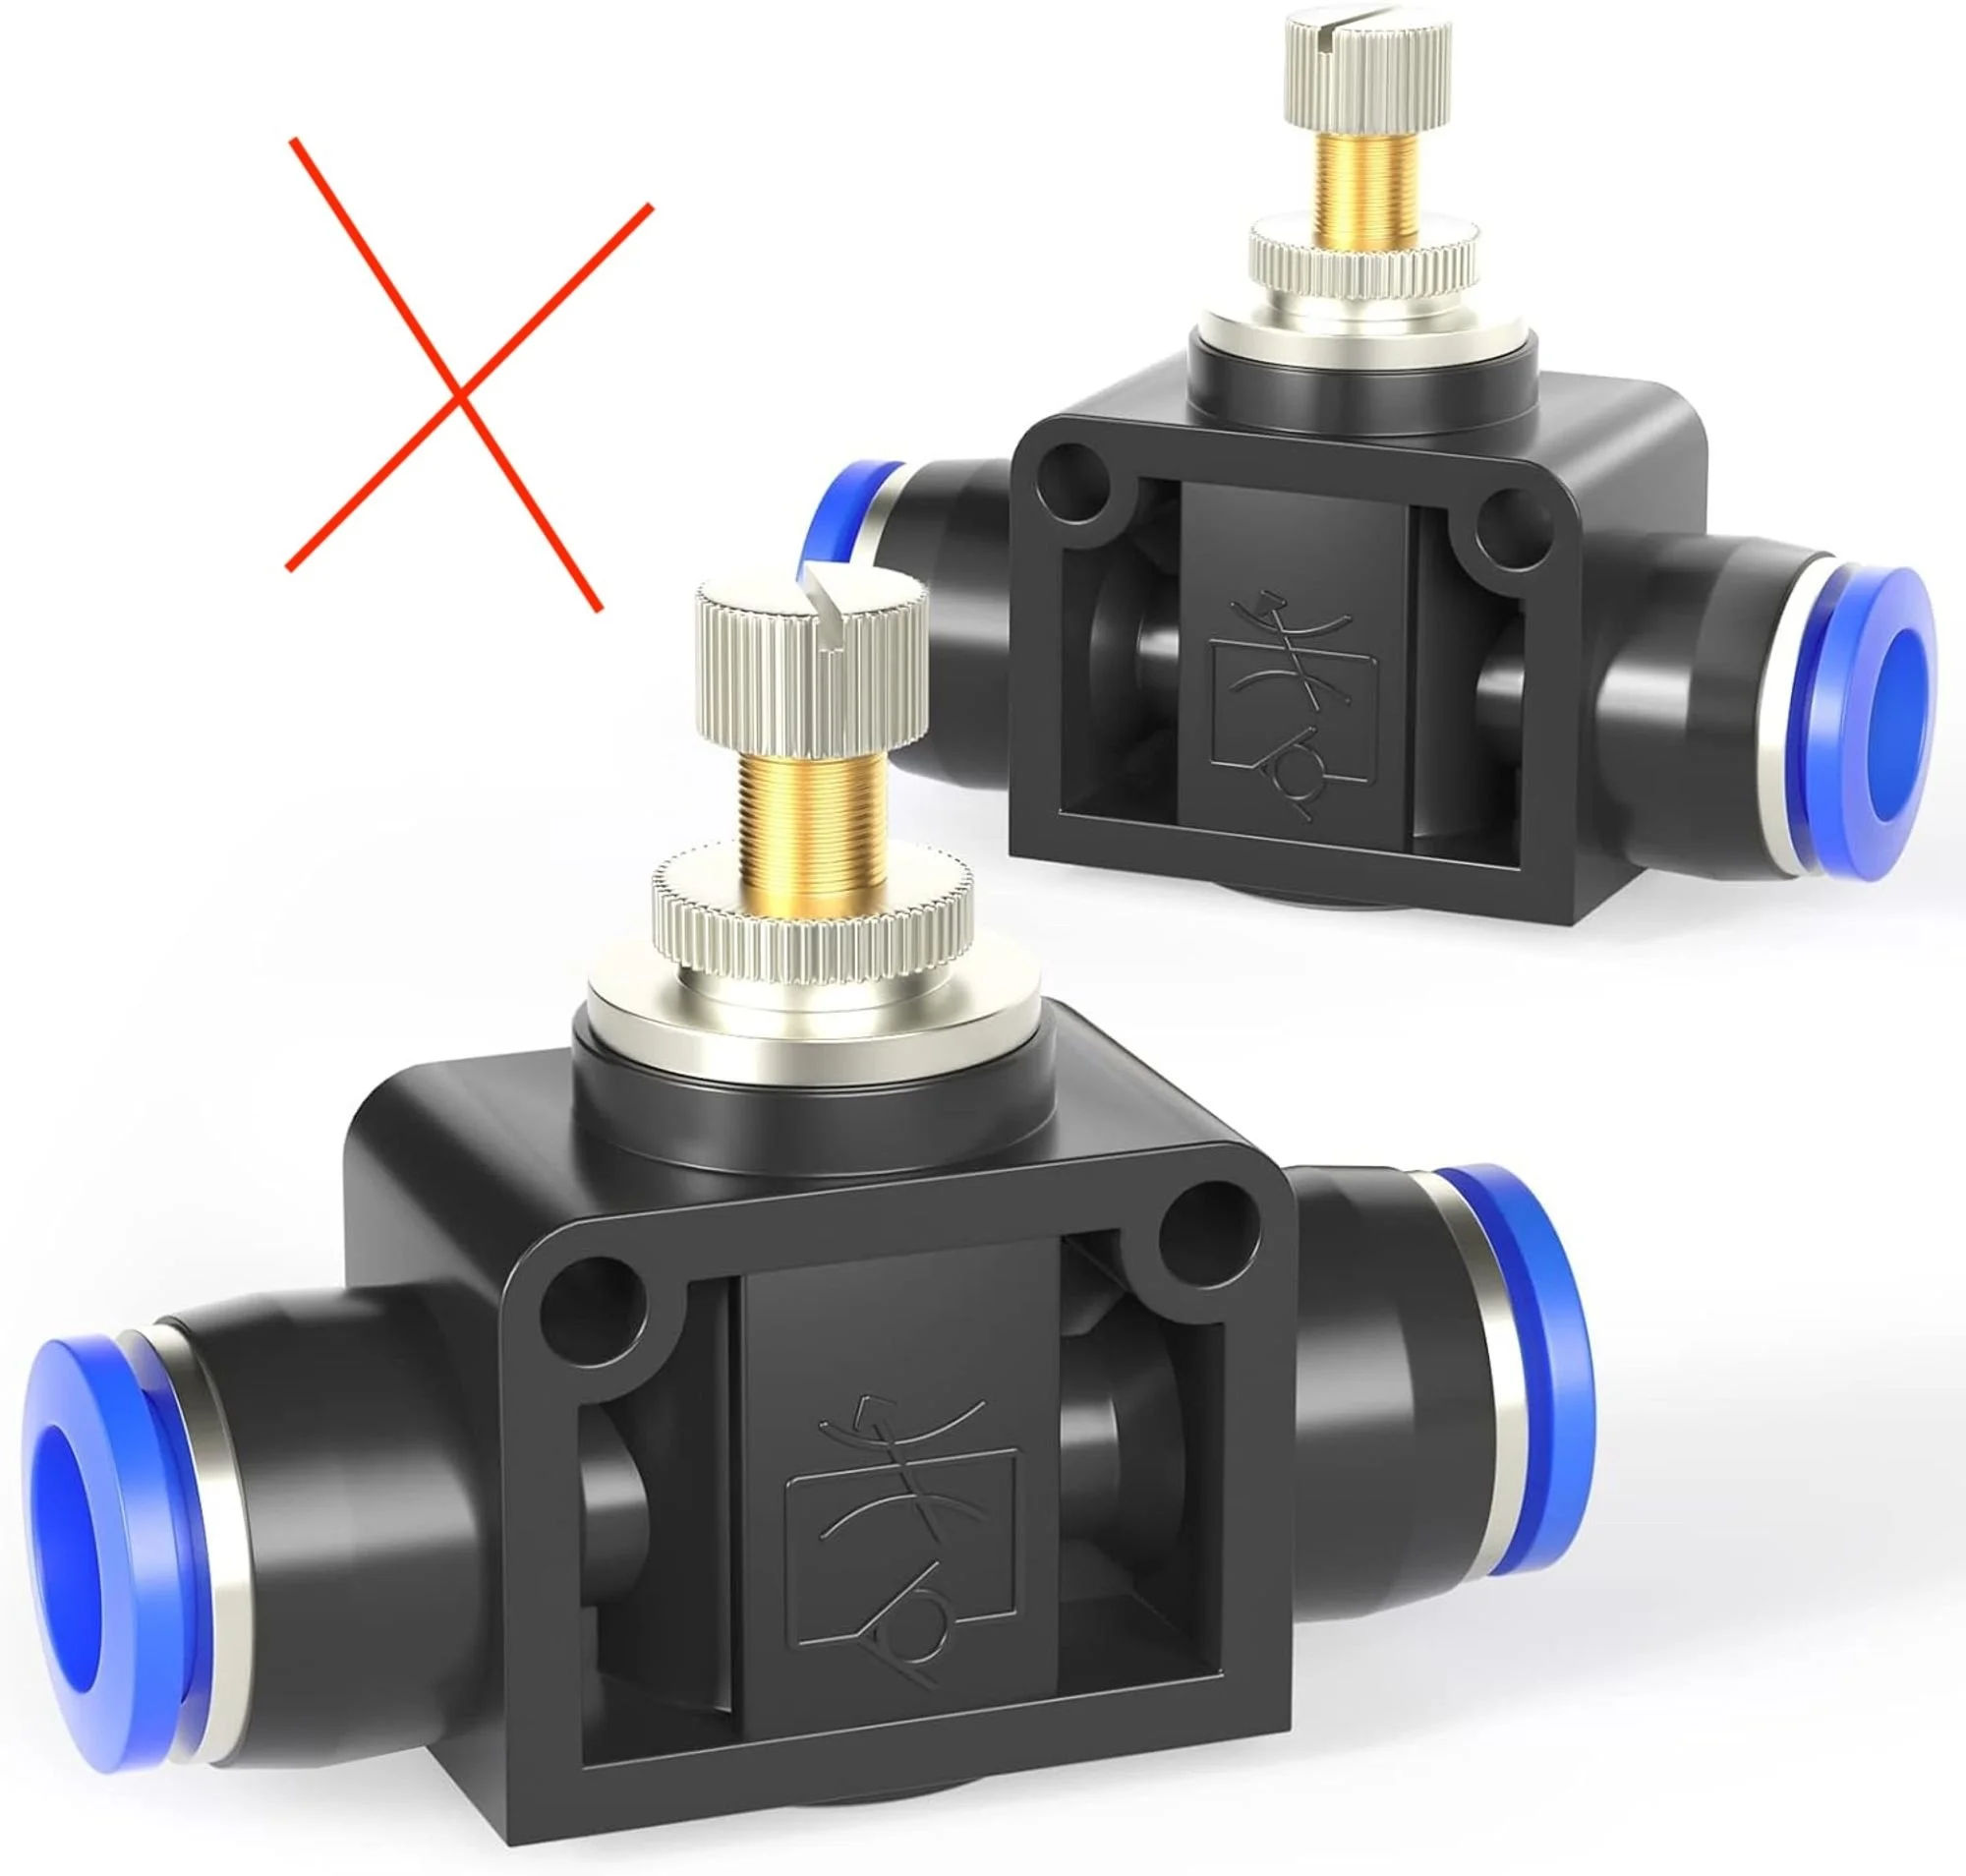
Flow Regulators
I had trouble with non-ball valve regulators, so I’d use ball valves (Pictured below)
Radiator Position
According to the big PC guys out there, it's best to mount your radiator at the top of your loop, so that's what I did
Bleed Valves?
I just use a simple flow regulator to let air out when needed
1 Loop, 2 Loops?
The hotend and motors should be 2 loops. The reason for this is that the hotend loop will be much shorter and requires less flow. Since you will have 2 individual loops, you can control their flow rates separately.
If using different diameter tubing between motors and hotend, you want to restrict a certain tubing size to a single loop - hence 2 loops

My setup looks like this (more or less)
Pump Vibrations?
If you want to mount your pump to your printer frame, you may be worried about it vibrating your printer. There's a good amount of discussion on pump mount design that reduce vibrations.
TPU to the rescue! I've found that some simple TPU risers (or rubber risers bought) between your pump and pump mount reduce vibrations by 90%-95% - don't need anything more complicated than that!

I used 5mm-tall risers printed in 85A TPU (NinjaFlex)
More Flow for the Motors?
I upgraded my 4 Mellow waterblocks to 6mm OD fittings for more flow since we’re cooling a lot more than the hotend loop. Up to you if you want to do this, but they’re cheap from Amazon and an easy upgrade.
Should we use the G1/4 Fittings to our Advantage?
I personally used 3/8” tubing from my pump to radiator just because I could. Up to you if you want to do the same.
Installation Notes
Great video from Vez3D on how to install the stepper motor mounts + how he set his loops up
A video from Vez3D on how he watercooled his stepper motors and hotend.
Pump/Reservoir
This one just works. Good flow, not too big, you probably want the 24v one
Stepper Motor Plates
External TMC5160 Plates
I haven’t tried these because I’m running a BTT Octopus Max EZ with integrated steppers, but if you have the standard VZBot setup with the 4 external TMC5160 Mellow drivers, this is pretty sick
Watercooled Extruder
If you get this guy, you can run the Goliath hotend in “low” mode, meaning you ditch the large air fins or watercooling block (like the setup in my pictures below)
Note 1: If you can get the Vz-Hextrudort Plus watercooling model, I would suggest that over this original model linked

If you go with the above, remember you need the watercooling adapter plate! They’re called “Mounting Bracket Silver” or “Mounting Bracket Black” and look like the below picture
Watercooled Hotend
Tubing
3/8” OD
4mm OD
Only needed if you upgraded the motors to 6mm OD fittings
G1/4 Fittings
G1/4-to-3/8” 90 Degree Compression Fitting
Good for pump output
G1/4-to-3/8” Compression Fitting
Needed to extend, bend, etc your loop from the pump or radiator
Bleed Valves
I haven’t found a better way than using a flow regulator to relieve air when needed, placed at the top of the loop - let me know if there’s a better way!
Flow Monitors
Again, I don’t really think these work well with the flow rates we’re pushing, but it is here if you want it!
Fans (for radiator)
Note: confirm the fan voltage will match your fan header voltage on your mainboard!
Any 120mm fan within your budget will work honestly, but these have been quiet and effective
Calculation time
Variables to Calculate Needed Items
All tubing ODs: 4mm, 6mm, 3/8”
All threads: G1/4, M5
From the above, you can find additional parts to convert back and forth as needed
My Setup


Happy Printing!
Suggestions or Improvements to this article?
Leave a comment below